Showing posts with label Recipes. Show all posts

Sunday, December 9, 2012

Chocolate Peanut Clusters

I love this time of year. I love everything Christmas! :) I have also been enjoying doing my ONLINE Christmas shopping. Went to the mall today and didn't even end up getting anything because I didn't want to wait in line...will continue to look for deals with free shipping. ha

Anyway, I did a cookie exchange at work with some of the other teachers and aides. (Whoever first thought of the idea of a cookie exchange deserves a prize, or at least an extra cookie!) I love trying all different kinds of cookies without all the work. Plus, now I have some pretty sweet recipes.

I made chocolate peanut clusters, which, if you read this title, you probably already figured out. They have four different kinds of chocolate in them, so yeah, you're going to love them!

And I made them in the crockpot! Crazy, I know.
chocolate peanut clusters in a crockpot
It's super easy too. Dump everything (as seen in the above picture) in the crockpot, peanuts last. See/print/download my recipe here - I got the recipe card design somewhere and can't find it - if I find it again I'll post a link to the template!
Chocolate peanut clusters recipe

Cook for 3 hours and don't stir it until you are done. That was hard for me....so it's a great time to work on your patience.
Photobucket

Once your 3 hours are up (or close enough) stir and spoon on wax paper. 
Photobucket 
 Photobucket 
Oh, and if you don't have wax paper, empty out your cereal boxes and combine them together or put the cereal in bowls for the next day, and cut up the wax paper bag to use. Totally worked like a charm and I didn't have to make the hubby run to the grocery store for me. And...a greased cookie sheet works...but they are much more difficult to get off.

chocolate peanut clusters
 crockpot chocolate peanut clusters
They were delicious. Everyone loved them! I forgot to take a fancy plated picture for you, so this is what they looked like after I spooned them all out, but I had a lot of compliments that they looked like Fannie Mae chocolate peanut clusters. I love fancy, simple things. Plus, this makes over 100 - so perfect when you need something for a lot of people! What's your favorite Christmas cookie/dessert to share?

Sunday, October 21, 2012

Crustless Pumpkin Pie

I love fall. Especially fall foods. Lately, I've been eating way too much of my share of apple cider, cream cheese apple dip, and my favorite - crustless pumpkin pie! My college roommate Carrie introduced me to this pumpkin pie without crust recipe and I'm been loving it ever since.

I never really liked the crust anyway...love the pumpkin though!!
Give it a try! It's super easy and works great for us non-crust lovers (also when you've forgotten to get/make a crust).

1. Mix all of the following ingredients together.
  • 16 oz can pumpkin
  • 13 oz can evaporated milk
  • 2 T butter, melted
  • 2 eggs
  • 3/4 c sugar
  • 1/2 c biscuit mix
  • 2-1/2 tsp pumpkin pie spice 
    • If you don't have pumpkin pie spice, you can use 1 tsp cinnamon, 1/4 tsp nutmeg, 1/4 tsp cloves, and 1/4 tsp ginger
  • 2 tsp vanilla
2. Pour into greased 10-in pie pan. (I used this super cute and kind-of nerdy pie plate I etched)
3. Bake at 350 degrees for 50 - 55 min or until knife comes out clean
*Top with Cool Whip for true deliciousness

Enjoy! Try it out - I bet all of your friends and family will be so impressed.


Monday, July 23, 2012

Engagement Ring Sugar Cookies

I have a new great respect for decorative sugar cookies. They are difficult to make! :) I made these engagement ring cookies for my sister-in-law, Lindsey's engagement party. (Remember the engagement cake I made for her?)
Engagement Ring Cookie {Breezy Pink Daisies}
They are not perfect, but I'm still proud of them!

I used this sugar cookie recipe on Tasty Kitchen from I Am Baker (made 36 cookies, even with me snacking on the dough!)

And I got some help on royal frosting from Cake Journal. Argh. First off - a little black goes a long way. Piping and flooding was hard! I started out that way for the band part and then just started spreading it on the cookie. HA! But I did pipe {most} of the designs on the "diamond".
Engagement Ring Cookie Decorations {Breezy Pink Daisies}
Also, I had bought fancy "shimmer" for the ring, but it didn't really sparkle...so I improvised. What did I use instead? SUGAR! Duh - don't know why I didn't think of that first! Sugar is super sparkly and way cheaper than buying a bottle of edible sparkles!

I {think} everyone liked them and I know they tasted good! :)


Wednesday, May 30, 2012

Easy Chocolate Ganache Cake Filling

So yesterday I blogged about the amazing cake I made...and here's the recipe for the chocolate ganache that we used for the filling! Love it! And I've been eating the leftovers with a spoon...it's heavenly!

Yummy easy chocolate ganache. All you need is two ingredients. Chocolate and heavy whipping cream (16 ounces each). And lucky you, remember my friend Rita was helping me with this cake? So that means I was able to take lots of pictures!!
Breezy Pink Daisies - Chocolate Ganache 
(I grabbed all the chocolate I could find in our house to make a total of 16 ounces- it worked great!) Now, chop up the chocolate. I used my blender. If you are using a blender I would recommend using small amounts at a time...because otherwise your chocolate might start to melt! Breezy Pink Daisies - Chocolate Ganache Breezy Pink Daisies - Chocolate Ganache
AND your pieces should be a little bit smaller than the large ones I have in here. It just make it easier to melt with the cream. While you are blending chopping up your chocolate, microwave the heavy cream for 2 minutes.
 Breezy Pink Daisies - Chocolate Ganache 
This is the fun part! Pour the hot cream into the chocolate...
 Breezy Pink Daisies - Chocolate Ganache 
And stir!
 Breezy Pink Daisies - Chocolate Ganache 
And in just a couple minutes, you will end up with this!
 Breezy Pink Daisies - Chocolate Ganache 
We then refrigerated the ganache for a little while so it would harden a little before we put it in between the layers. It worked perfect to fill the cake and worked just like glue!
Breezy Pink Daisies - Chocolate Ganache 
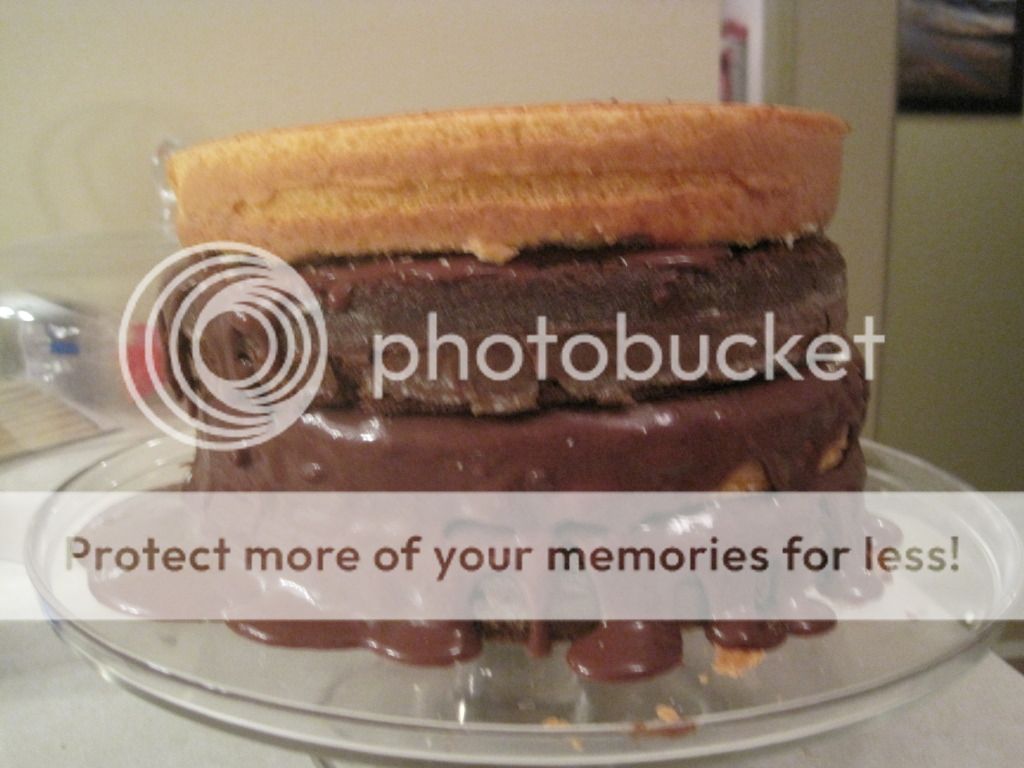
 And, it got a little messy...and kinda lopsided..when putting it all together, so I was freaking out a little bit...but it all worked out! (haha, and I know this picture is crazy - but this is real life people!) 
Breezy Pink Daisies - Chocolate Ganache

Remember how great it looks frosted?! :)


Tuesday, May 29, 2012

Celebrations - Engagement Cake and Banner

WaHoo!!! School is out for the summer and it is time for celebrations!

My favorite sister-in-law is pregnant with her baby (I'm going to be Aunt Brie - so excited!!) AND my other favorite sister-in-law just got engaged!! Seriously, see what I mean about the celebrations!? And I love it, because, right now, my life is the normal one. I get to enjoy everyone's excitement without any of the stress. LOVING it!

So, to celebrate the engagement, my friend Rita and I made a fancy little four layer engagement cake and added a fun banner. I love how it turned out! And it tasted good too! Check out the banner - it says "HE PUT A RING ON IT." I cut out the letter with my cricut machine and then poked holes on the tops on the letters and strung embroidery floss through the letters. I later realized it would have worked a lot better (and would have been a lot easier) to just glue the letters on the string.
Engagement Cake Banner - He put a RING on it {Breezy Pink Daisies}
O my, and it was delicious! The layers of cake were french vanilla and devil's food with chocolate ganache filling and covered with buttercream frosting!
Engagement Cake Banner - He put a RING on it {Breezy Pink Daisies}
Here's the newly engaged couple with their cake. They are just so cute. I also took a few pictures of them in his backyard yesterday. I'll post some of those soon too.
Tomorrow I'll share with you some of the secrets and recipes I used to make this cake turn out so well!


Saturday, March 24, 2012

Cupcake Boot Camp!

A couple of weekends ago, I went to a cupcake bootcamp at the Merchandise Mart with my friend Kristine. It was a blast! We were there for about four and a half hours and learned how to make five cupcakes and frostings from scratch.
Photobucket 
Did you know you're supposed to mix the butter and sugar together for about 5 minutes before adding any other ingredients? And that ALL the ingredients you use should be at room temperature (even the milk and eggs!)?  
Photobucket  Photobucket
We used these awesome cupcake scoopers to make sure the cupcakes were even - they were out of them at the store, but I totally want one!
 Photobucket 
We also learned how to make caramel on the stove...except when I tried it at home it was awful...but I'll try again (and if I get it to work I might post it for you!
 Photobucket 
The cupcakes our group made! Beautiful!
 Photobucket Photobucket 
 Frosting them was a lot of fun! I hoped they would show us more frosting tips and hints, but they really didn't. However, it's pretty easy when you have the right frosting tips! Photobucket 
It was super fun using the blow torch on the smore cupcakes!! Photobucket 
 These are all the ones I frosted and took home. Yumm!  And we got to take them home too! So delicious!


Sunday, September 18, 2011

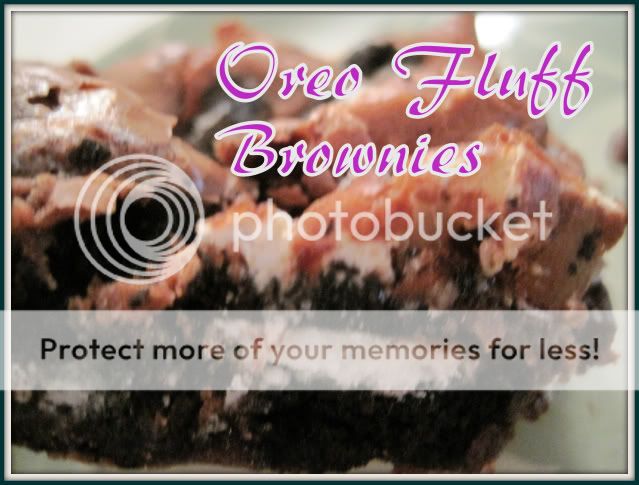
Oreo Fluff Brownies!

I love to bake. But I can also be lazy....so I love using boxed mixes to make brownies, cakes, ect. It doesn't get much easier than that! But do you ever like to add a little something extra to make your brownies from a mix seem special? (And I'm not talking about ex-lax here people!)
I saw these delicious (and simple) brownies over at Inside BruCru Life and got started right way!Thankfully I was having friends over who helped me eat quite a few of them...because as much as I love them...I probably don't need to have the entire pan...

Looking for something creative to make with that brownie mix? Gather the following ingredients (plus what you need for the brownies - a couple of eggs, oil, and water) and mix up the brownie batter.
I was having fun with Picasa collages...so the next 5 steps are pictured...and written out for you...easy peasy! (sorry about steps 2 and 3, there was so much white there that no color looked good, but I think you're smart enough to figure it out)
(just in case you can't read the collage...)
  1. Lay quartered oreos over 1/2 of the batter
  2. Drop marshmallow fluff by the spoonfuls
  3. Throw some marshmallows on top
  4. Spread the rest of the batter on tap.
  5. Top with crushed oreos
Bake at 350 (preheated) for 25 minutes.
Find friends to share with so you don't gain 5 pounds and ENJOY! :)
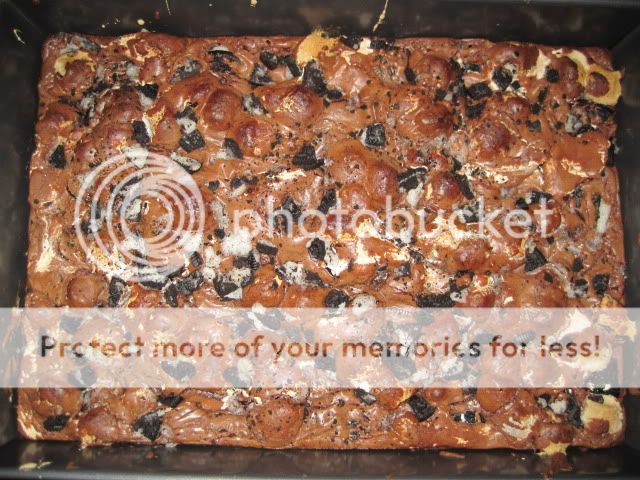
Is it just me, or do these brownies look like they have bacon on them? haha...I promise it's all chocolatey goodness...no bacon. HOWEVER I have heard of chocolate covered bacon and it's supposed to be pretty good. Hmmm, maybe next time. :)

I would love to connect with you! :) Consider following me on facebook or twitter!


Friday, July 29, 2011

Delicious Blueberry Buckle

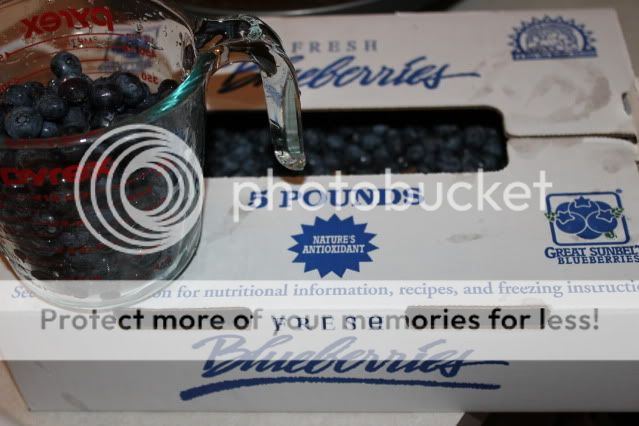
I love blueberries, especially when they are fresh and not too ripe. Thanks to my wonderful parents I currently have 5 lbs of Michigan blueberries. I tried this new recipe for "Blueberry Buckle" and I love it! It's like blueberry muffins, only better!

 I made recipe cards for you, check them out here! There's two on a page so when you print it (I'd recommend using card stock or thicker paper) you can have one for you and one for a friend!
Blueberry Buckle Breakfast Recipe
Look at the recipe card to explain the directions, and here's some pictures so you can see how each step looks.

Step 1 - Not sure if I should have used the whisk attachment - especially after step 2!

Step 2 - Yeah, I had fun fighting with the mixer to get all that off...

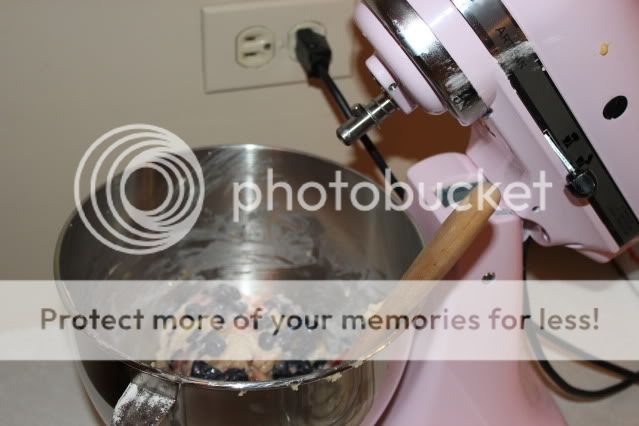
Step 3 - I had to take a picture so you could see the beautiful pink mixer too! I thought I would easily be able to pour it into the pan, but it reminded me of rice krispies how I had to spread it out.
Step 4 - Mmmm, mix it on up!

Step 5 - Look at how delicious it looks when it's baked! And it tastes even better!
I definitely recommend it! Let me know if you like the recipe card and if that is something you would like for me to continue with my recipes! :)

I'm linking up at a few of my favorite blogs here
Related Posts Plugin for WordPress, Blogger...
Blogging tips